RFID Reader
The RFID Reader is the main (and only) page of the public frontend. It runs on terminal devices or kiosks where visitors scan their RFID keys to sign in or out.
Terminal Registration
Before the terminal can be used, it must be registered with the system. This is a one-time setup performed by an administrator.
First-Time Setup
When you open the RFID Reader page (/) for the first time in a browser, a registration popup appears:

1
Fill in the registration form. The popup contains three fields:
- Admin Login — username of an administrator account
- Admin Password — password for that administrator
- Terminal Name — a unique name for this terminal (e.g., "Main Entrance", "Side Door")
2
Submit the form. The system validates the admin credentials, creates a terminal user, and returns an authentication token.
3
Terminal is ready. The token and terminal name are saved in the browser's local storage. The popup closes and the RFID Reader enters its normal working state.
Terminal Name Conflict
If a terminal with the same name already exists, the system shows a confirmation message:
Terminal with this name already exists. If you would like to regenerate access token for it, click Continue. If you continue, all other terminals using this name will be disconnected.
- Click Continue to regenerate the token. The old terminal using this name will stop working and show the registration popup again.
- Click Cancel to go back and choose a different name.
Automatic Re-Registration
If the terminal's credentials become invalid (for example, another terminal took over the same name), any tracking request will return a 401 Unauthorized error. When this happens:
- The stored credentials are automatically cleared.
- The registration popup appears again.
- The administrator must re-register the terminal.
WARNING
When a terminal is re-registered with the same name using "Continue", all other terminals using that name are disconnected immediately. They will need to be re-registered.
How to Use
1
Approach the terminal. The screen shows a waiting state, ready to accept an RFID scan.
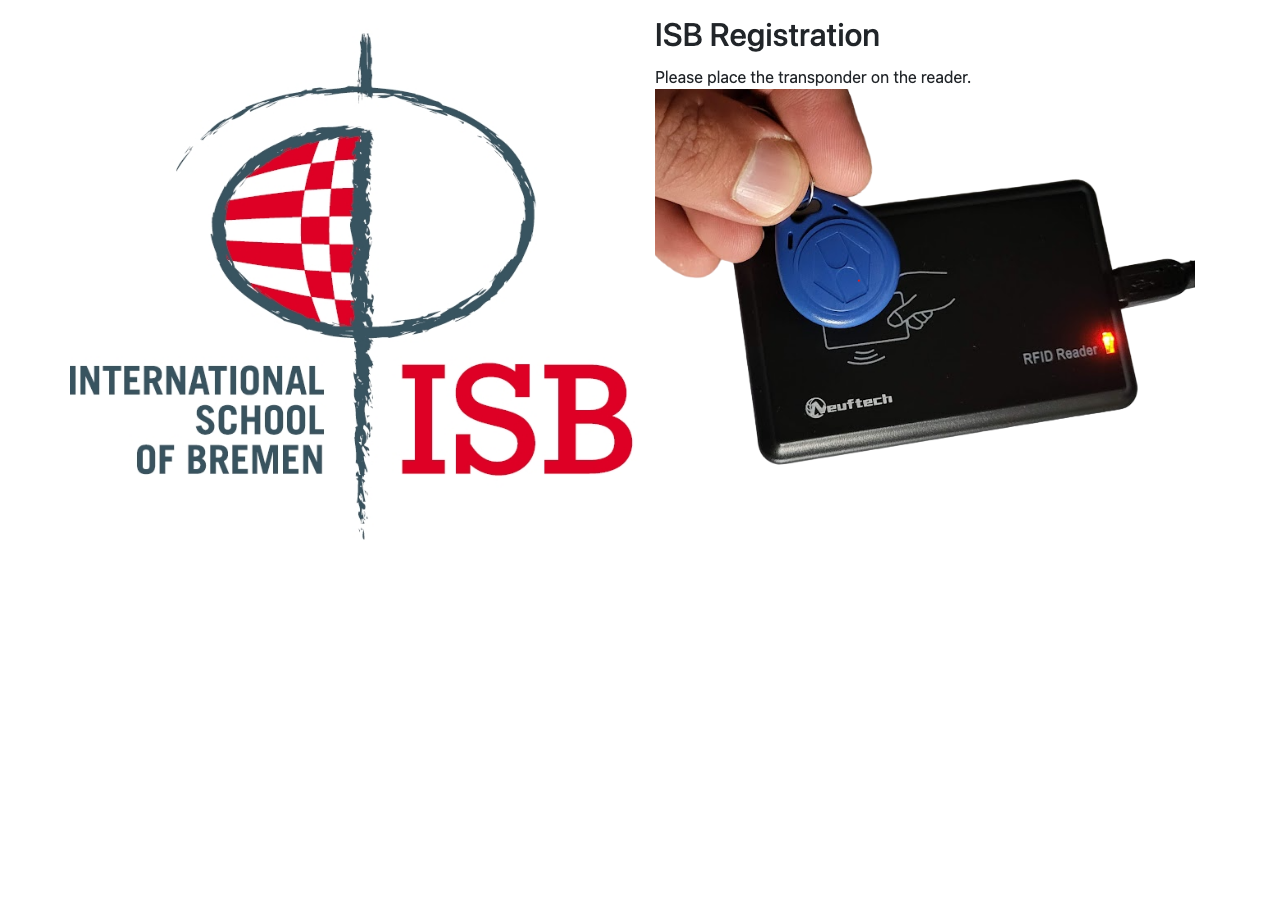
2
Scan your RFID key. Hold your key or card near the RFID reader. The system reads the key ID automatically.
3
View the confirmation. The screen displays:
- Your name and photo (if available)
- Whether you are signing in or signing out
- A welcome or goodbye message
What Happens Behind the Scenes
When a key is scanned, the terminal:
- Sends a request to the backend with two authentication headers:
Terminal-Name— the registered terminal nameAuthorization: Bearer <auth_token>— the token received during registration
- The backend validates the terminal, looks up the visitor by their RFID key, and creates a track record.
- The sign type is determined by event count:
- Odd event → Sign In
- Even event → Sign Out
- The
terminal_idis stored with the track record for audit purposes. - If the visitor is a student and ERP integration is enabled, attendance is updated in iSAMS.
INFO
If the key is not recognized, an error message appears on screen. The visitor should contact an administrator to register their key via the Admin Panel.
Screen States
| State | Description |
|---|---|
| Registration | Terminal not registered — shows the registration popup |
| Waiting | Ready to scan — shows a prompt to scan the key |
| Welcome | Sign-in confirmed — shows visitor name and welcome message |
| Goodbye | Sign-out confirmed — shows visitor name and goodbye message |
| Not Found | Key not registered — shows an error message |
| Error | System error — shows a general error message |